Whether you live in a detached single-family home or a apartment in a retirement community, you can be a part of the at-home composting trend. It’s an easy way to reduce waste, fight climate change, and live more sustainably – and to improve the soil if you have a garden. You’ll reduce your carbon footprint, push back against climate change, and live more sustainably.
DIY composting checks all of those boxes, is super easy, and can pay serious dividends, especially when the “black gold” can be used in a garden or raised bed setup.
The problems calling for solutions
Today’s seniors may not experience the problems that have been building in our environment, but future generations will. Acting to mitigate the issues serves a kindness to our children, grandchildren, and the natural world.
The United Nations Food and Agricultural Organization estimates about one-third of food produced for human consumption winds up in the trash each year. That’s problematic as, on one hand, the enormous waste drives the need for more fields, fuels deforestation in developing production areas like the Amazon rainforest, and leads to more transportation emissions. Improper decomposition in landfills, meanwhile, produces about 8% of global greenhouse gases annually, and at least half of that comes in the form of methane, which has a heat-trapping impact upward of 34 times stronger than CO2. What’s more, the Environmental Protection Agency says that when you factor in yard trimmings, wood, and paper products, organic materials make up more than half of the nation’s municipal solid waste.
The good news is that the simple act of composting can help remove you from the cycle and put a dent in those negative effects. It’s a small but significant action that you can start any time of year. This quick guide will help get you started off on the right foot.
How composting works
In a nutshell, composting is a process that expedites the transformation of organic materials like dead leaves, paper towels, or food scraps into a nutrient-rich soil amendment. While methods differ – and we’ll get to those in a moment – your goal is to foster controlled conditions that help decomposers like bacteria, fungi, nematodes, and worms do their jobs more efficiently. This crew of natural helpers use oxygen, water, carbon (“brown” materials like dead leaves or non-waxy paper), and nitrogen (“greens” like food scraps) to generate heat and break things down to a loamy medium with the texture, consistency, color, and smell of extremely healthy soil. To maximize the effects, you’ll want to maintain a rough ratio of three parts browns per every one part greens.
Find the at-home composting method that works for you
Your approach to at-home composting can vary wildly depending on where and how you live. But lucky for us, there’s a method that suits pretty much any situation. Start by assessing your resources and surroundings, then go from there.
Do you have a grassy, tree-lined lawn, for instance, that generates lots of yard waste? If so, you may want to opt for a roughly three-cubic-foot, open air setup. Find a dry, shady spot tucked away from the house, then simply stack yard refuse like twigs or hedge trimmings, shredded pizza boxes, and food scraps in a controlled pile. While minimal and convenient, this setup does require occasional elbow grease, as you’ll need to use an implement like a pitch fork to turn and aerate the compost every week or so.
 Alternatively, maybe you reside in a 55-plus town home community with a landscaping crew and have a fenced-in patio area off the garage. In that case, it’s probably best to purchase a premade tumbler composter. Base the size of your enclosure on how much food waste you produce – don’t worry, units typically have guidelines printed on their packaging. In this case, you’ll need to find a source for your “browns.” You might ask the landscaping crew, for example, to leave a bag of grass whenever they cut. Another option could include picking up leaves for a nearby neighbor. Old newspapers and paper towels that weren’t used to soak up chemicals will also work. Simply maintain your brown-to-green ratio and turn the unit according to its instructions to aerate your compost.
What if you live in a condo or apartment-style assisted living facility? You can purchase a small inside composter or plastic containers with a top (make sure the container is small enough that it won’t be too heavy to carry when it’s full). Then donate the scraps to a community garden or farm in your area that accepts food scraps for compost. Weekly pickup services are also offered in some communities and areas. And if you’re interested in experiencing the full process? You could ask about volunteering opportunities with the garden or farm of your choice.
How to know when your compost is ‘done’
At-home composting is at its heart an imprecise endeavor with inputs that tend to vary broadly from household to household. That means timelines for finished products aren’t always firm. If you’re using a tumbler enclosure, you could have rich, garden-ready compost in as little as three months. Alternatively, the process could take up to a year.
That said, there is a surefire way to tell when it’s done. Over time, your materials will begin to look more and more like dark soil and volume will eventually shrink by 30 to 50 percent. When the mix looks almost indecipherable from dirt and has a sweet and earthy smell – voila! – your compost is ready to go.
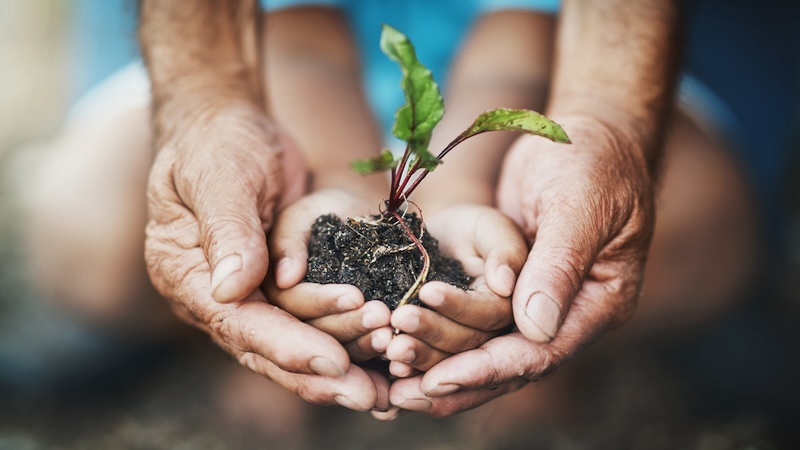
What to do with your ‘black gold’
As mentioned above, compost is like natural steroids for plants. It’s also great for yards and can boost the water retention capacity of top soil and negate the need for artificial fertilizers.
If you have a green thumb or you are interested in learning, you could build or buy some raised beds and start a backyard, patio, or deck-side veggie and herb garden. Simply sprinkle in a handful or so of black gold during planting and reap the benefits. The same is true for houseplants, flowers, ornamental shrubs – you name it. If that all sounds like too much hassle, you could always donate the fruits of your labor to a community garden, or simply spread it in a thin layer across your yard.